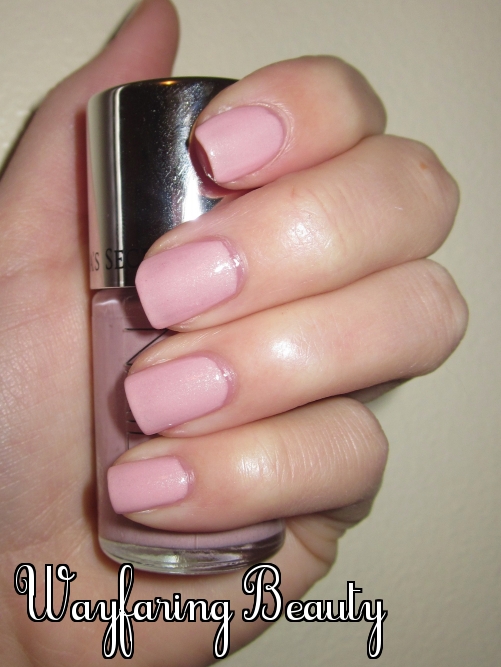
Sorry for the world’s longest title there ^ I couldn’t help it, collection names are such mouthfuls once you include the company name and such! Anyways, I have some gorgeous polishes for you and long titles pale in comparison to them.
When I was growing up, I was a total girly-girl (who am I kidding? I still am). For years my room was lavender and one wall was covered by wallpaper of a giant rainbow arching across my room. It was the happiest, most colorful wallpaper. My freshman year of college I decided I should maybe have a “grown up” room that wasn’t filled with rainbows and little porcelain trinkets, and it was with great sadness that I took the rainbow paper down. I’m still a little bummed that I did (hello, it was amazing), but I can now have rainbows on my nails thanks to Color Club – and that’s almost as good.
Color Club released a Halo Hues holographic collection last year andddd…I missed it. I wasn’t on my polish kick yet and didn’t even know you could have holographic polish on your nails. I have really been wanting holo polish lately though and was tickled when I heard that Color Club was putting out another Halo Hues collection (especially because China Glaze’s holo collection looks meh). I own no holo polishes, so did I get one or two to see if I liked them? Nope. I bought all six of the 2013 collection.

Drool.
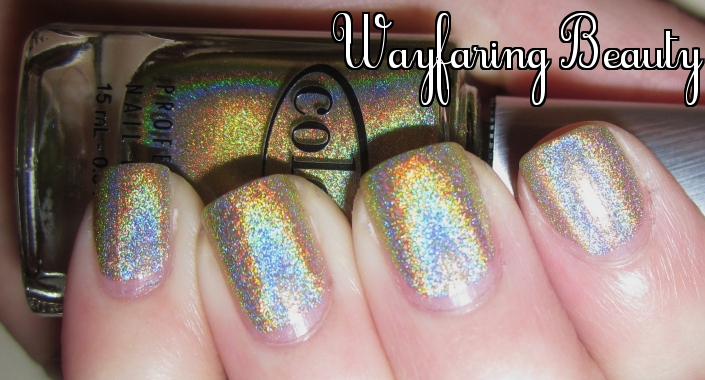
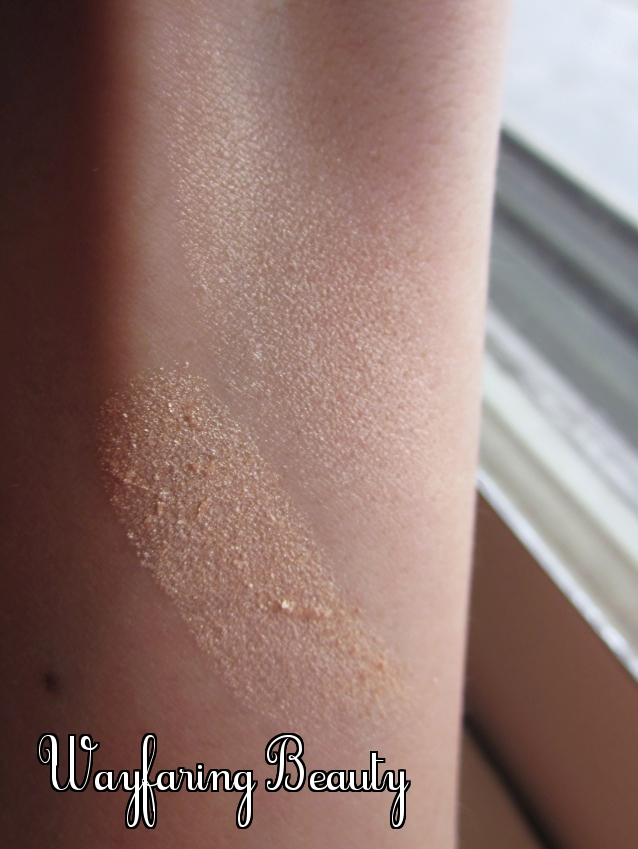
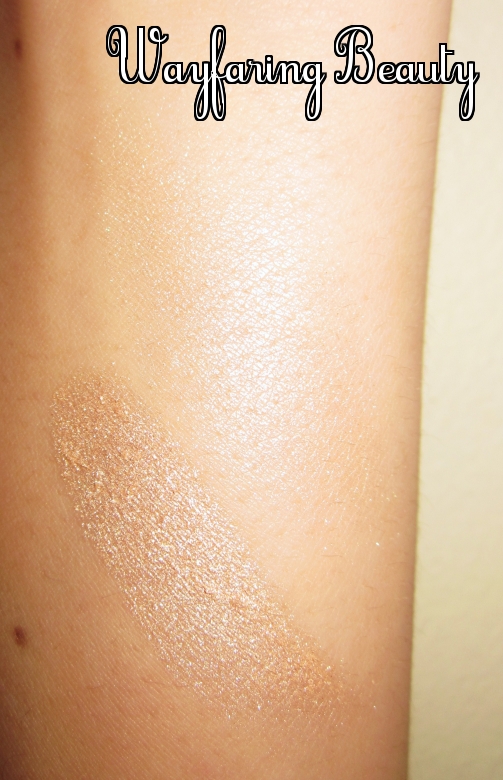
The six polishes in the Halo Hues collection are Beyond, Eternal Beauty, Over the Moon, Kismet, Miss Bliss, and Cosmic Fate. While I don’t own the previous Halo set, these seem to be more bold colors overall, which is what I think I’d prefer anyways. I heard that you shouldn’t and/or can’t use base or top coats with holo polishes without dulling the effect, but Color Club instructs you to use both with their Halo Hues. I decided to see how these fared without them first, just because I’m contrary I suppose. I swatched all six of the polishes already but this post only contains the first three. Why? Well when you swatch these indoors and don’t have flash, the polishes look like a pretty but almost grainy color – my reaction was simply “oh, pretty.” You start to catch a hint of rainbow under good lighting; then you step outside or use flash and it’s like WHABAM, rainbows. You’ll see what I mean. Anyways, that caused me to take a ton of photos, and I didn’t want a looooong photo-fest post that you’d need a snack to sit down and browse. All photos are two coats, with lighting listed as captions. Click to enlarge –
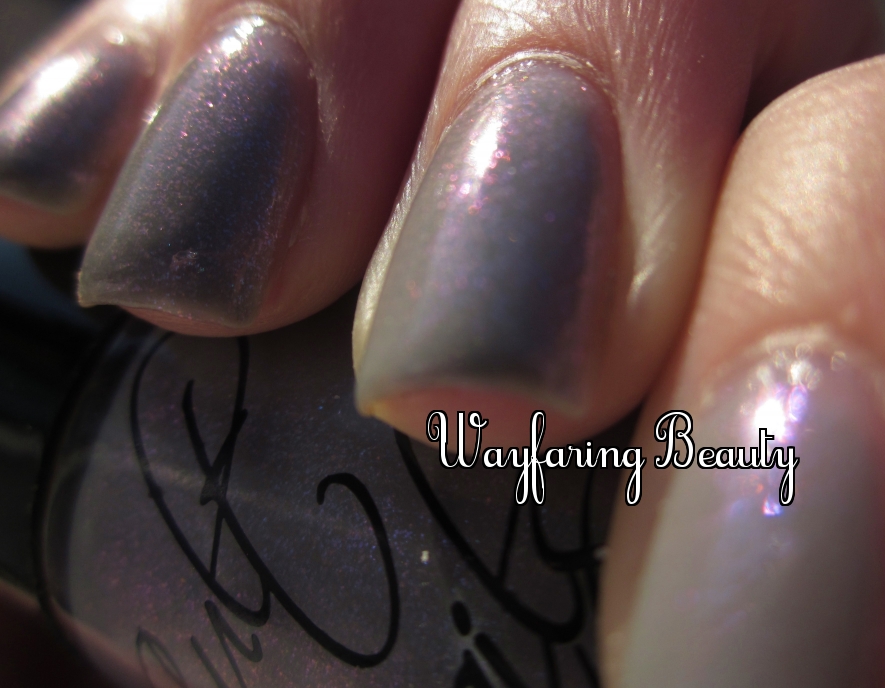
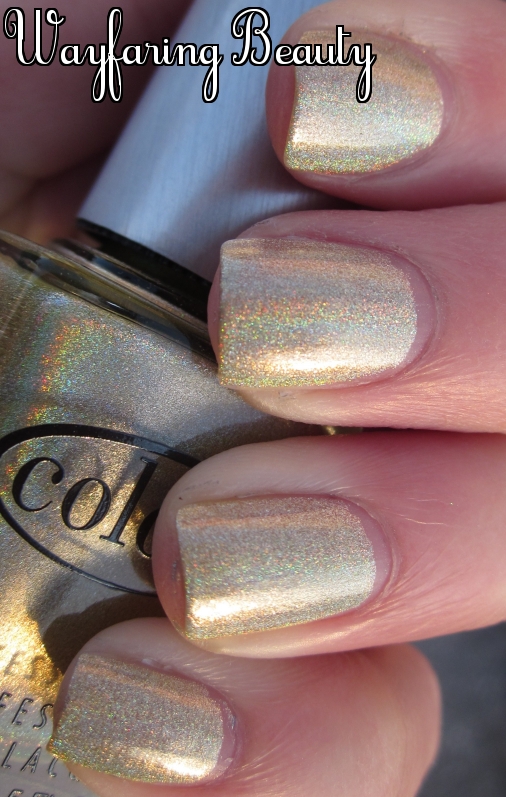
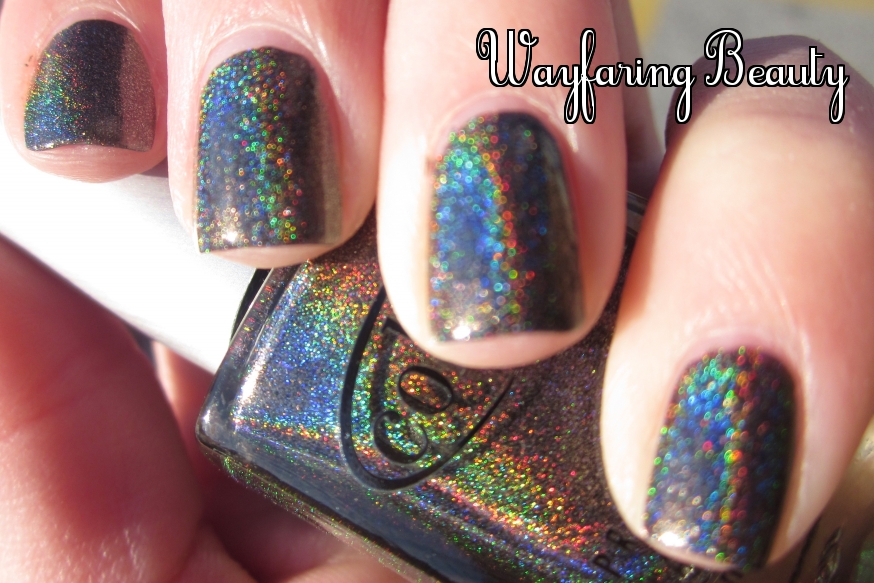
First up is Beyond, a charcoal-y black. In the bottle it reads as a silvery-shimmered black.
Beyond

Natural light
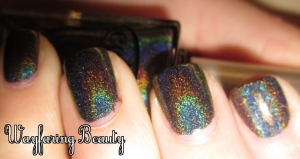
Indoor w/ flash
Indoors w/o flash
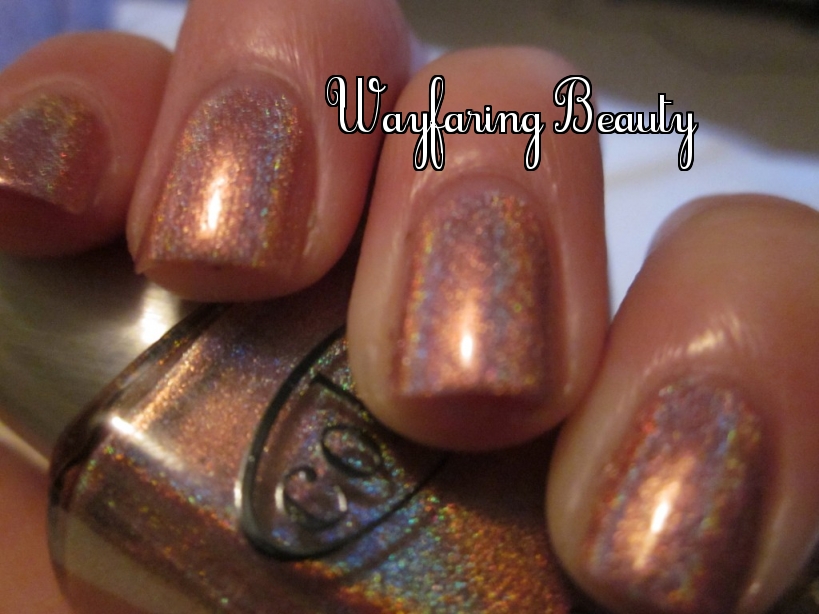
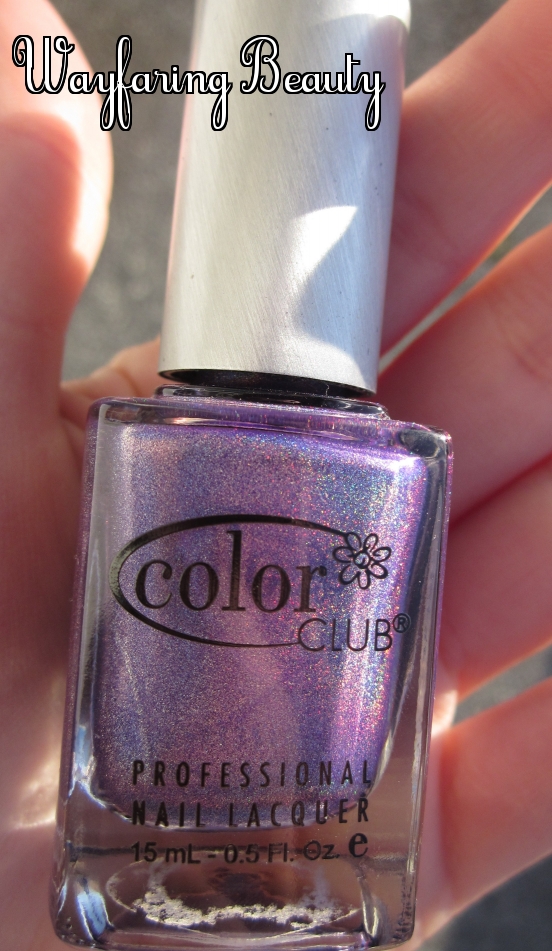
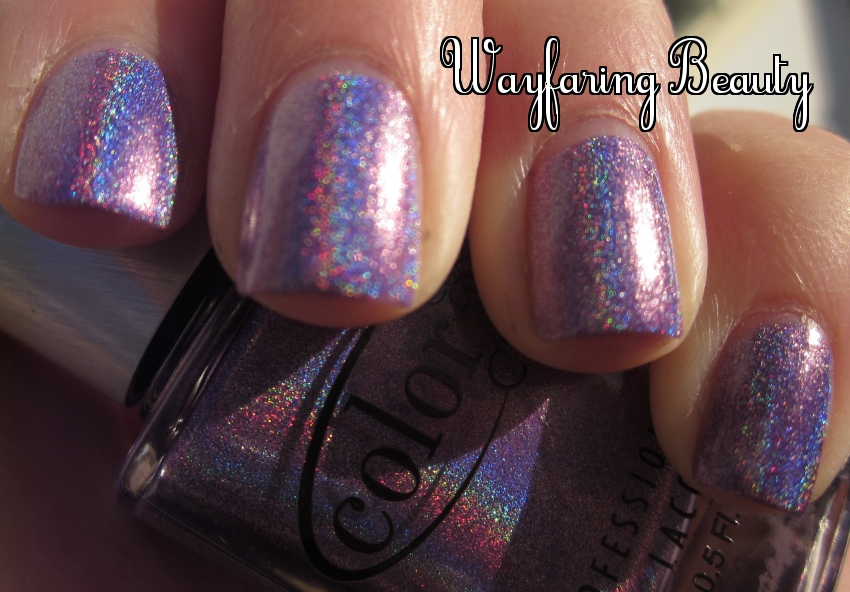
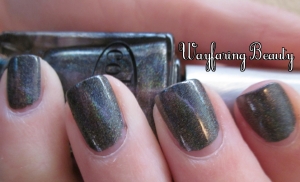
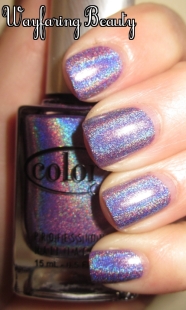
Once I forced myself to take off that beauty, I reached for Eternal Beauty, a medium purple shade.
Eternal Beauty
Indoors w/o flash
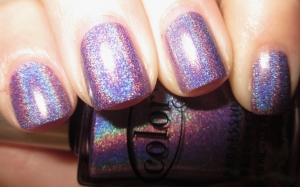
Indoor w/ flash
Indoor w/ flash

Natural light
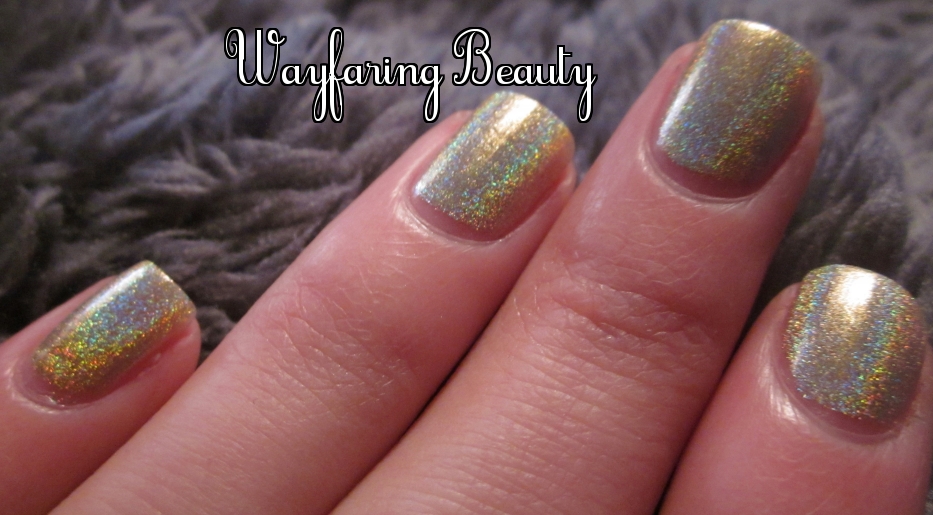
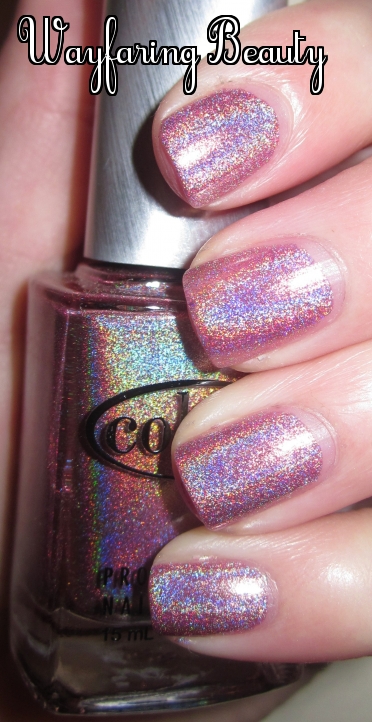
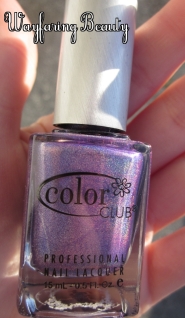
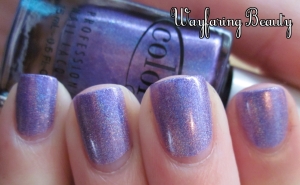
Lastly for this first half is Over the Moon, a bright, light blue shade. I’m not usually a blue polish fan, but this one is so lovely!
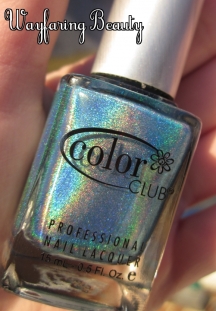
Over the Moon
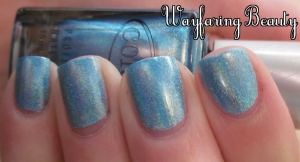
Indoor w/o flash
Natural light
Indoor w/ flash
Indoor w/ flash
I wasn’t sure if I’d end up thrilled or dismayed that I ordered the whole collection – turns out I’m thrilled! These are just so gorgeous (unless you dislike rainbows I guess?). The formula was a little thin, which means that I had to watch for polish stealthily dripping down the brush while I was painting. That’s really no biggie for me though – I’d rather a formula be a little thin than too thick. The formula was easy to control and built up nicely. It also dried super fast, which is wonderful for this impatient girl. The only con is that my neighbors probably think I’m crazy. The sun kept trying to hide behind clouds while I was taking my natural sunlight photos, so I was essentially chasing the rays around my parking lot, polish in one hand and camera in the other. So worth it though.
Color Club sells this beauties for $10/15mL on their site, but I ordered the full set for $40 (plus free shipping over $30!) from Enospring. Enospring also sells the bottles individually for $7. Amazon and other polish/beauty sites like Harlow & Co. also sell Color Club polishes, including this new Halo collection.
I will be posting the other half of this collection asap, so keep your eyes peeled! In the meantime, let me know what you think of holo polishes – do you have any holos that you love? Have you tried Color Club’s last Halo Hues collection? Rainbow-flecked nails – hit or miss? Comment below! 🙂


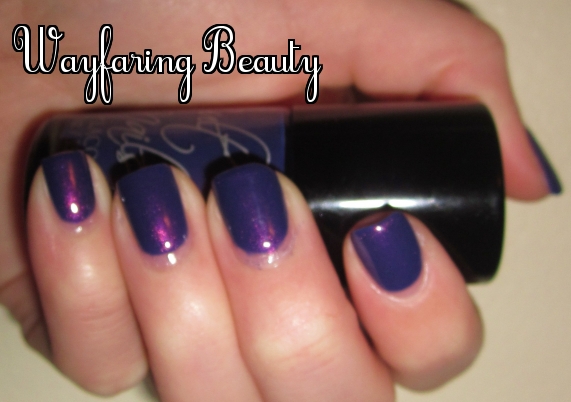
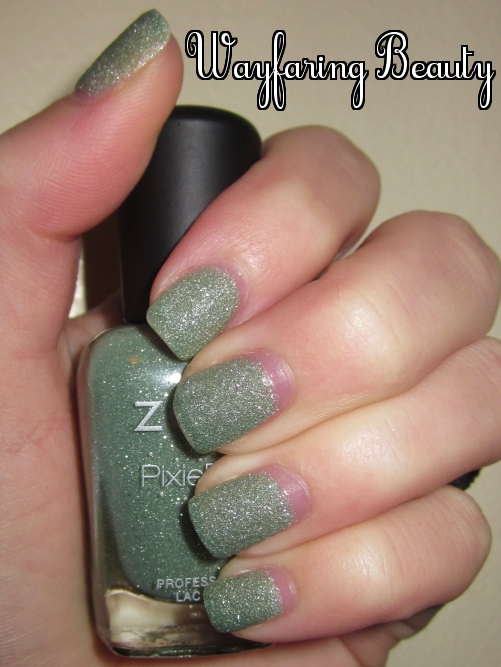
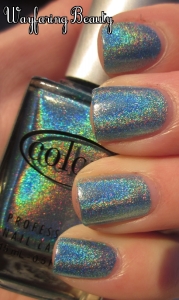
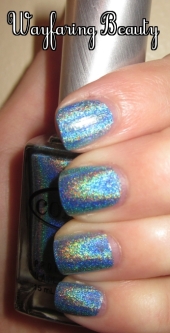
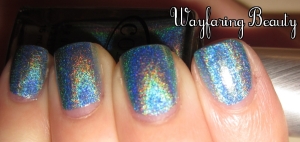
 I used two coats of Flash, plus base and top coat. My middle nail is finally growing out (darn breaks), but I swatched this almost right after I chipped it.